




How to Scan Documents on iPhone: Complete Guide
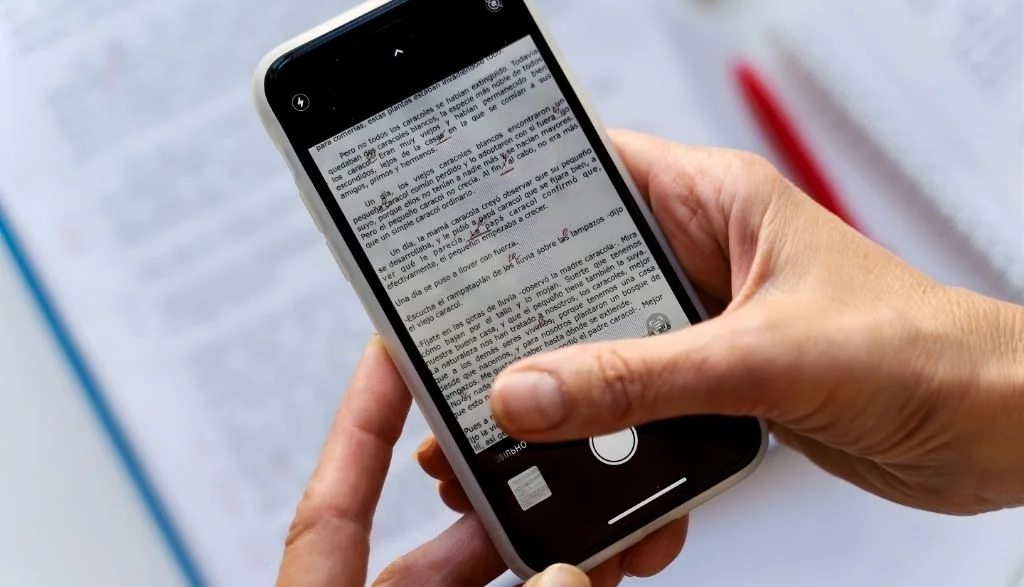
Learning how to scan documents on iPhone means you can skip the physical scanner entirely. Your phone already has everything built in to turn paper into a clean digital file, whether you are at home, in the office, or on the road.
This guide covers both built-in scanning methods, how to sign a scanned document right on your phone, tips for cleaner results, and quick fixes for blurry, cut-off, or missing scans. No extra apps or accounts are needed for any of it.
Which Scanning Method Should You Use
Your iPhone gives you two main ways to scan a document, and both use the same camera-based scanner under the hood.
Notes app: Fast and simple. Great for personal documents, quick receipts, or anything you want to sign and send right away.
Files app: Better for organization. Scans save directly into folders you choose, which makes it easier to keep business or long-term documents sorted.
Both methods produce a PDF and use the same scanning tool, so the choice mostly comes down to where you want the file to end up.
How to Scan Documents Using the Notes App
- Open the Notes app from your home screen.
- Tap an existing note or create a new one.
- Tap the Attachment button at the bottom of the screen.
- Select Scan Documents from the menu.
- Place your paper flat within the camera view.
- Your iPhone will scan automatically once it detects the page.
- If auto mode does not trigger, tap the Shutter button yourself.
- You can also press either volume button to capture the scan.
- Drag the four corners to adjust the scan area if needed.
- Make sure all edges of the document are fully visible.
- Tap Keep Scan once it looks right.
- Scan another page or tap Save to finish.
Shortcut: Open any note, tap More, then tap Scan to jump straight into the scanner without going through the Attachment menu.
Tips for Better Scans
Good lighting makes the biggest difference in scan quality. Keep your hand steady while the camera captures the page, and make sure the paper itself is flat with no wrinkles or folds. A clean, plain background helps the iPhone detect the document edges faster and more accurately. Try to avoid shadows falling across the page, since they can make the final scan look darker than it should.
How to Sign a Document You Scanned on iPhone
Once you scan documents on iPhone through Notes, signing them takes just a few extra taps.
- Open Notes and tap the scanned document.
- Tap the Markup button in the top right corner.
- Tap the plus button to open the add menu.
- Select Signature.
- Choose a saved signature or create a new one.
- Draw your signature with your finger, or use an Apple Pencil if you have a compatible iPad.
- Drag the signature box into position.
- Resize it by pinching or spreading your fingers.
- Tap Done once it looks right.
Your signed document stays saved in Notes, and you can email it or move it into Files from there.
How to Scan Documents Using the Files App
- Open the Files app.
- Navigate to the folder where you want the scan saved.
- Tap the More button, shown as three dots.
- Select Scan Documents.
- Position your document in front of the camera.
- Auto mode captures the page once it is detected.
- Tap the Shutter button if you need to capture it manually.
- You can also use the volume buttons to capture the scan.
- Adjust the corners by dragging them to fit the page.
- Tap Keep Scan when it looks correct.
- Add more pages or tap Save to finish.
Files saves the result as a PDF directly in your chosen folder, which makes it easy to rename, move, or share later without hunting through Notes.
Troubleshooting Common Scanning Problems
Auto mode is not working. Switch to manual capture by tapping the Shutter button yourself. Check that your camera lens is clean and that the room has enough light, and try moving the phone slightly closer or farther to help it focus.
Scans come out blurry or too dark. Hold the phone steady during capture, and add more light or move closer to a window if the room is dim. A quick wipe of the camera lens with a soft cloth can also make a real difference.
Document edges are getting cut off. Adjust the corners manually after capturing, and make sure the entire page fits inside the camera frame before you scan. Moving the phone a bit farther back usually solves this.
You cannot find a saved scan. Check Notes if you used that method, or Files if you scanned there instead. Searching by name in either app is usually faster than scrolling, and recent scans typically appear near the top of the list.
Scanning Receipts, Business Cards, and Small Items
The same tool that lets you scan documents on iPhone also works well for smaller items like receipts, business cards, and handwritten notes. Place the item on a plain, contrasting background so the edges are easier to detect, since small items can sometimes confuse auto mode more than a full page does. If auto mode struggles with something that small, manual capture with the Shutter button usually works better than waiting for it to trigger on its own.
Sharing and Exporting Your Scans
Once you finish a scan, sharing it is straightforward from either app. In Notes, tap the share icon to send the PDF by email, message, or AirDrop. In Files, long-press the file and choose Share from the menu that appears. Both apps also let you save a copy to iCloud Drive or another cloud service if you have one set up, which is useful if you want the document accessible from a computer later.
Final Thoughts
Now you know how to scan documents on iPhone using both built-in methods. Notes works well for quick, personal scans you want to sign and send right away, while Files is the better choice when you need organized, searchable storage. Either way, you get a clean PDF without needing a separate scanner or app.
Frequently Asked Questions
Can I scan multiple pages into one document?
Yes. After capturing the first page, tap Add Scan to continue, and every page saves together as a single PDF.
Where does my iPhone save scanned documents?
Notes saves scans inside the note you were using. Files saves to whichever folder you selected before scanning.
Can I edit a scan after saving it?
Yes. Open the scan and tap Markup to add text, drawings, or a signature. Changes save automatically once you tap Done.
Do I need an internet connection to scan documents?
No. The iPhone camera scans and saves documents completely offline. You only need internet if you want to share or upload the file afterward.
Can I scan a wrinkled or folded paper?
Yes, though flattening it first gives you a cleaner result. Wrinkles can create shadows that make text harder to read in the final scan.


